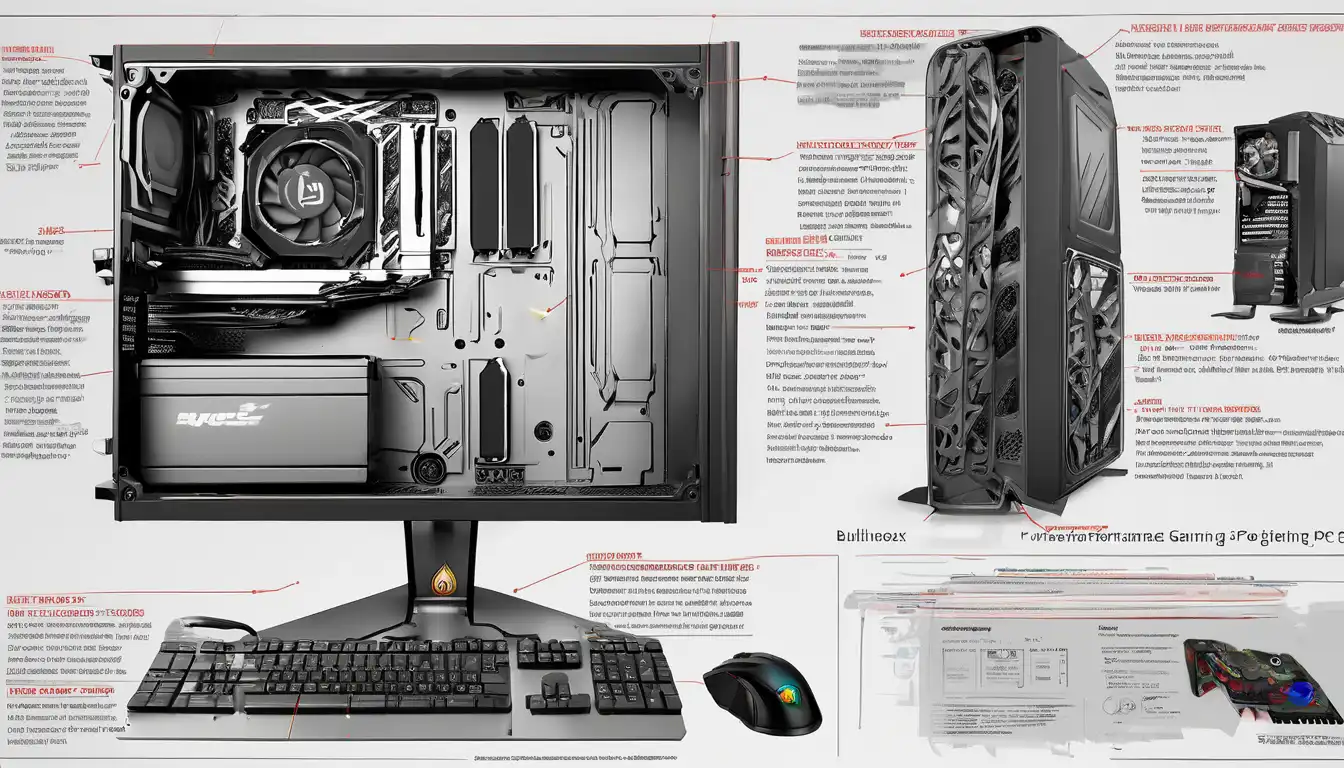
Introduction to High-Performance Gaming PC Construction
Building a high-performance gaming PC represents one of the most rewarding experiences for any gaming enthusiast. Unlike pre-built systems, custom-built gaming computers offer unparalleled flexibility, superior performance optimization, and better value for your investment. This comprehensive guide will walk you through every step of creating your dream gaming rig, from component selection to final assembly.
Whether you're a first-time builder or an experienced enthusiast looking to upgrade, understanding the fundamentals of PC components and their compatibility is crucial. The gaming PC market has evolved significantly, with new technologies emerging regularly that can dramatically enhance your gaming experience. By building your own system, you gain complete control over every aspect of performance and aesthetics.
Essential Components for Your Gaming PC
Central Processing Unit (CPU)
The CPU serves as the brain of your gaming PC, handling all computational tasks. For gaming purposes, both Intel and AMD offer excellent options. When selecting a CPU, consider factors such as core count, clock speed, and compatibility with your chosen motherboard. High-end gaming typically benefits from processors with higher single-core performance, as most games don't utilize multiple cores efficiently.
Modern gaming CPUs range from budget-friendly 6-core options to premium 16-core processors. For most gamers, an 8-core CPU provides the perfect balance between performance and value. Remember to check the CPU socket type to ensure compatibility with your motherboard selection.
Graphics Processing Unit (GPU)
The GPU is arguably the most critical component for gaming performance. This component renders images, textures, and animations, directly impacting your gaming visuals and frame rates. NVIDIA and AMD dominate the GPU market, offering various models at different price points.
When choosing a GPU, consider your target resolution and refresh rate. For 1080p gaming, mid-range cards suffice, while 1440p and 4K gaming require high-end GPUs. VRAM capacity is also important – 8GB is standard for modern gaming, but 12GB or more future-proofs your system for upcoming titles.
Motherboard Selection
The motherboard acts as the foundation that connects all your components. Key considerations include chipset compatibility, expansion slots, connectivity options, and form factor. ATX motherboards offer the most expansion capabilities, while micro-ATX and mini-ITX provide compact solutions for smaller builds.
Ensure your motherboard supports your chosen CPU out of the box or through BIOS updates. Additional features like built-in Wi-Fi, multiple M.2 slots, and robust VRM designs can enhance your building experience and system longevity.
Memory (RAM)
System memory plays a vital role in gaming performance and multitasking capability. For modern gaming PCs, 16GB of DDR4 or DDR5 RAM represents the sweet spot, though 32GB provides additional headroom for streaming and content creation.
Pay attention to RAM speed and timings, as these factors can impact performance in CPU-bound scenarios. Most gaming builds benefit from dual-channel configurations, so install RAM modules in pairs when possible.
Storage Solutions
Modern gaming demands fast storage solutions to reduce loading times. NVMe SSDs offer blistering speeds for your operating system and frequently played games, while larger capacity SATA SSDs or HDDs can handle your game library and media files.
A combination of a 500GB-1TB NVMe SSD for your OS and favorite games, coupled with a 2TB+ secondary drive, provides optimal performance and storage capacity. Consider our storage solutions guide for detailed recommendations.
Power Supply Unit (PSU)
Often overlooked, the PSU is crucial for system stability and longevity. Choose a unit from a reputable manufacturer with sufficient wattage for your components, plus some headroom for future upgrades. Modular PSUs simplify cable management, while 80 Plus certification indicates power efficiency.
For most high-end gaming builds, a 750W-850W PSU provides adequate power. High-end systems with multiple GPUs or extensive overclocking may require 1000W or more.
Cooling Solutions
Proper cooling maintains optimal performance and extends component lifespan. Air coolers offer reliable performance at lower price points, while all-in-one liquid coolers provide superior thermal management for overclocked systems.
Case airflow is equally important – ensure your chassis supports adequate fan placement and includes dust filters to maintain clean internals. For more advanced cooling options, check our comprehensive cooling guide.
Step-by-Step Assembly Process
Preparation and Workspace Setup
Before beginning assembly, prepare a clean, static-free workspace with adequate lighting. Gather all necessary tools, including Phillips head screwdrivers, cable ties, and thermal paste. Always ground yourself by touching a metal surface before handling components to prevent electrostatic discharge.
Organize your components and read through all manuals before starting. Having a clear understanding of each step will make the process smoother and reduce the risk of errors.
Motherboard Preparation
Begin by installing the CPU, RAM, and M.2 storage on the motherboard before mounting it in the case. Carefully align the CPU with the socket, ensuring proper orientation. Apply thermal paste in a pea-sized dot if using an aftermarket cooler.
Install RAM modules by opening the retention clips and firmly pressing until they click into place. M.2 drives typically require a small screw for secure mounting – consult your motherboard manual for specific installation instructions.
Case Preparation and Component Installation
Prepare your case by installing the PSU, routing necessary cables, and removing side panels and drive bays as needed. Mount the motherboard using standoffs provided with your case, ensuring all ports align properly with the I/O shield.
Install storage drives in designated bays, then proceed with GPU installation in the primary PCIe x16 slot. Connect all power cables from the PSU to their respective components, paying attention to cable management for optimal airflow.
Cable Management and Final Connections
Proper cable management improves airflow and maintains a clean aesthetic. Use cable ties to bundle excess cables and route them behind the motherboard tray when possible. Connect front panel headers, USB ports, and audio jacks according to your motherboard manual.
Double-check all connections before powering on your system. Ensure the CPU power, motherboard power, and GPU power cables are securely connected. Install case fans and connect them to appropriate headers on the motherboard.
System Configuration and Optimization
BIOS Setup and Operating System Installation
After successful assembly, power on your system and enter the BIOS/UEFI. Enable XMP/DOCP profiles for optimal RAM performance and configure boot priorities for your installation media. Create a bootable USB drive with your preferred operating system.
During OS installation, partition your drives appropriately – allocate your fastest SSD for the operating system and essential applications. After installation, download and install the latest drivers for your components, starting with chipset drivers followed by GPU drivers.
Performance Tuning and Monitoring
Use benchmarking tools to establish baseline performance metrics. Consider slight overclocking if you're comfortable with the process, but prioritize stability over marginal performance gains. Monitor temperatures during gaming sessions to ensure your cooling solution performs adequately.
Keep your system updated with the latest drivers and game optimizations. Regular maintenance, including dust cleaning and software updates, will ensure consistent performance over time. For advanced optimization techniques, explore our gaming optimization guide.
Conclusion: Enjoy Your Custom Gaming Experience
Building a high-performance gaming PC is an incredibly rewarding journey that results in a system tailored specifically to your needs and preferences. The knowledge gained through the building process empowers you to troubleshoot issues, perform upgrades, and understand exactly how your system operates.
Remember that PC building is an ongoing hobby – new components and technologies emerge regularly, offering opportunities for future upgrades. Your custom-built gaming PC represents not just a powerful gaming machine, but a personal achievement that will provide countless hours of entertainment and satisfaction.
Whether you're chasing high frame rates in competitive titles or immersing yourself in visually stunning single-player experiences, your custom-built gaming PC will deliver the performance you deserve. Happy gaming!